Pieter from Arcana shared some pics of a knife (about 40cm long) made using foam, latex, and plastidip. Very realistic! It even has a custom sheath.
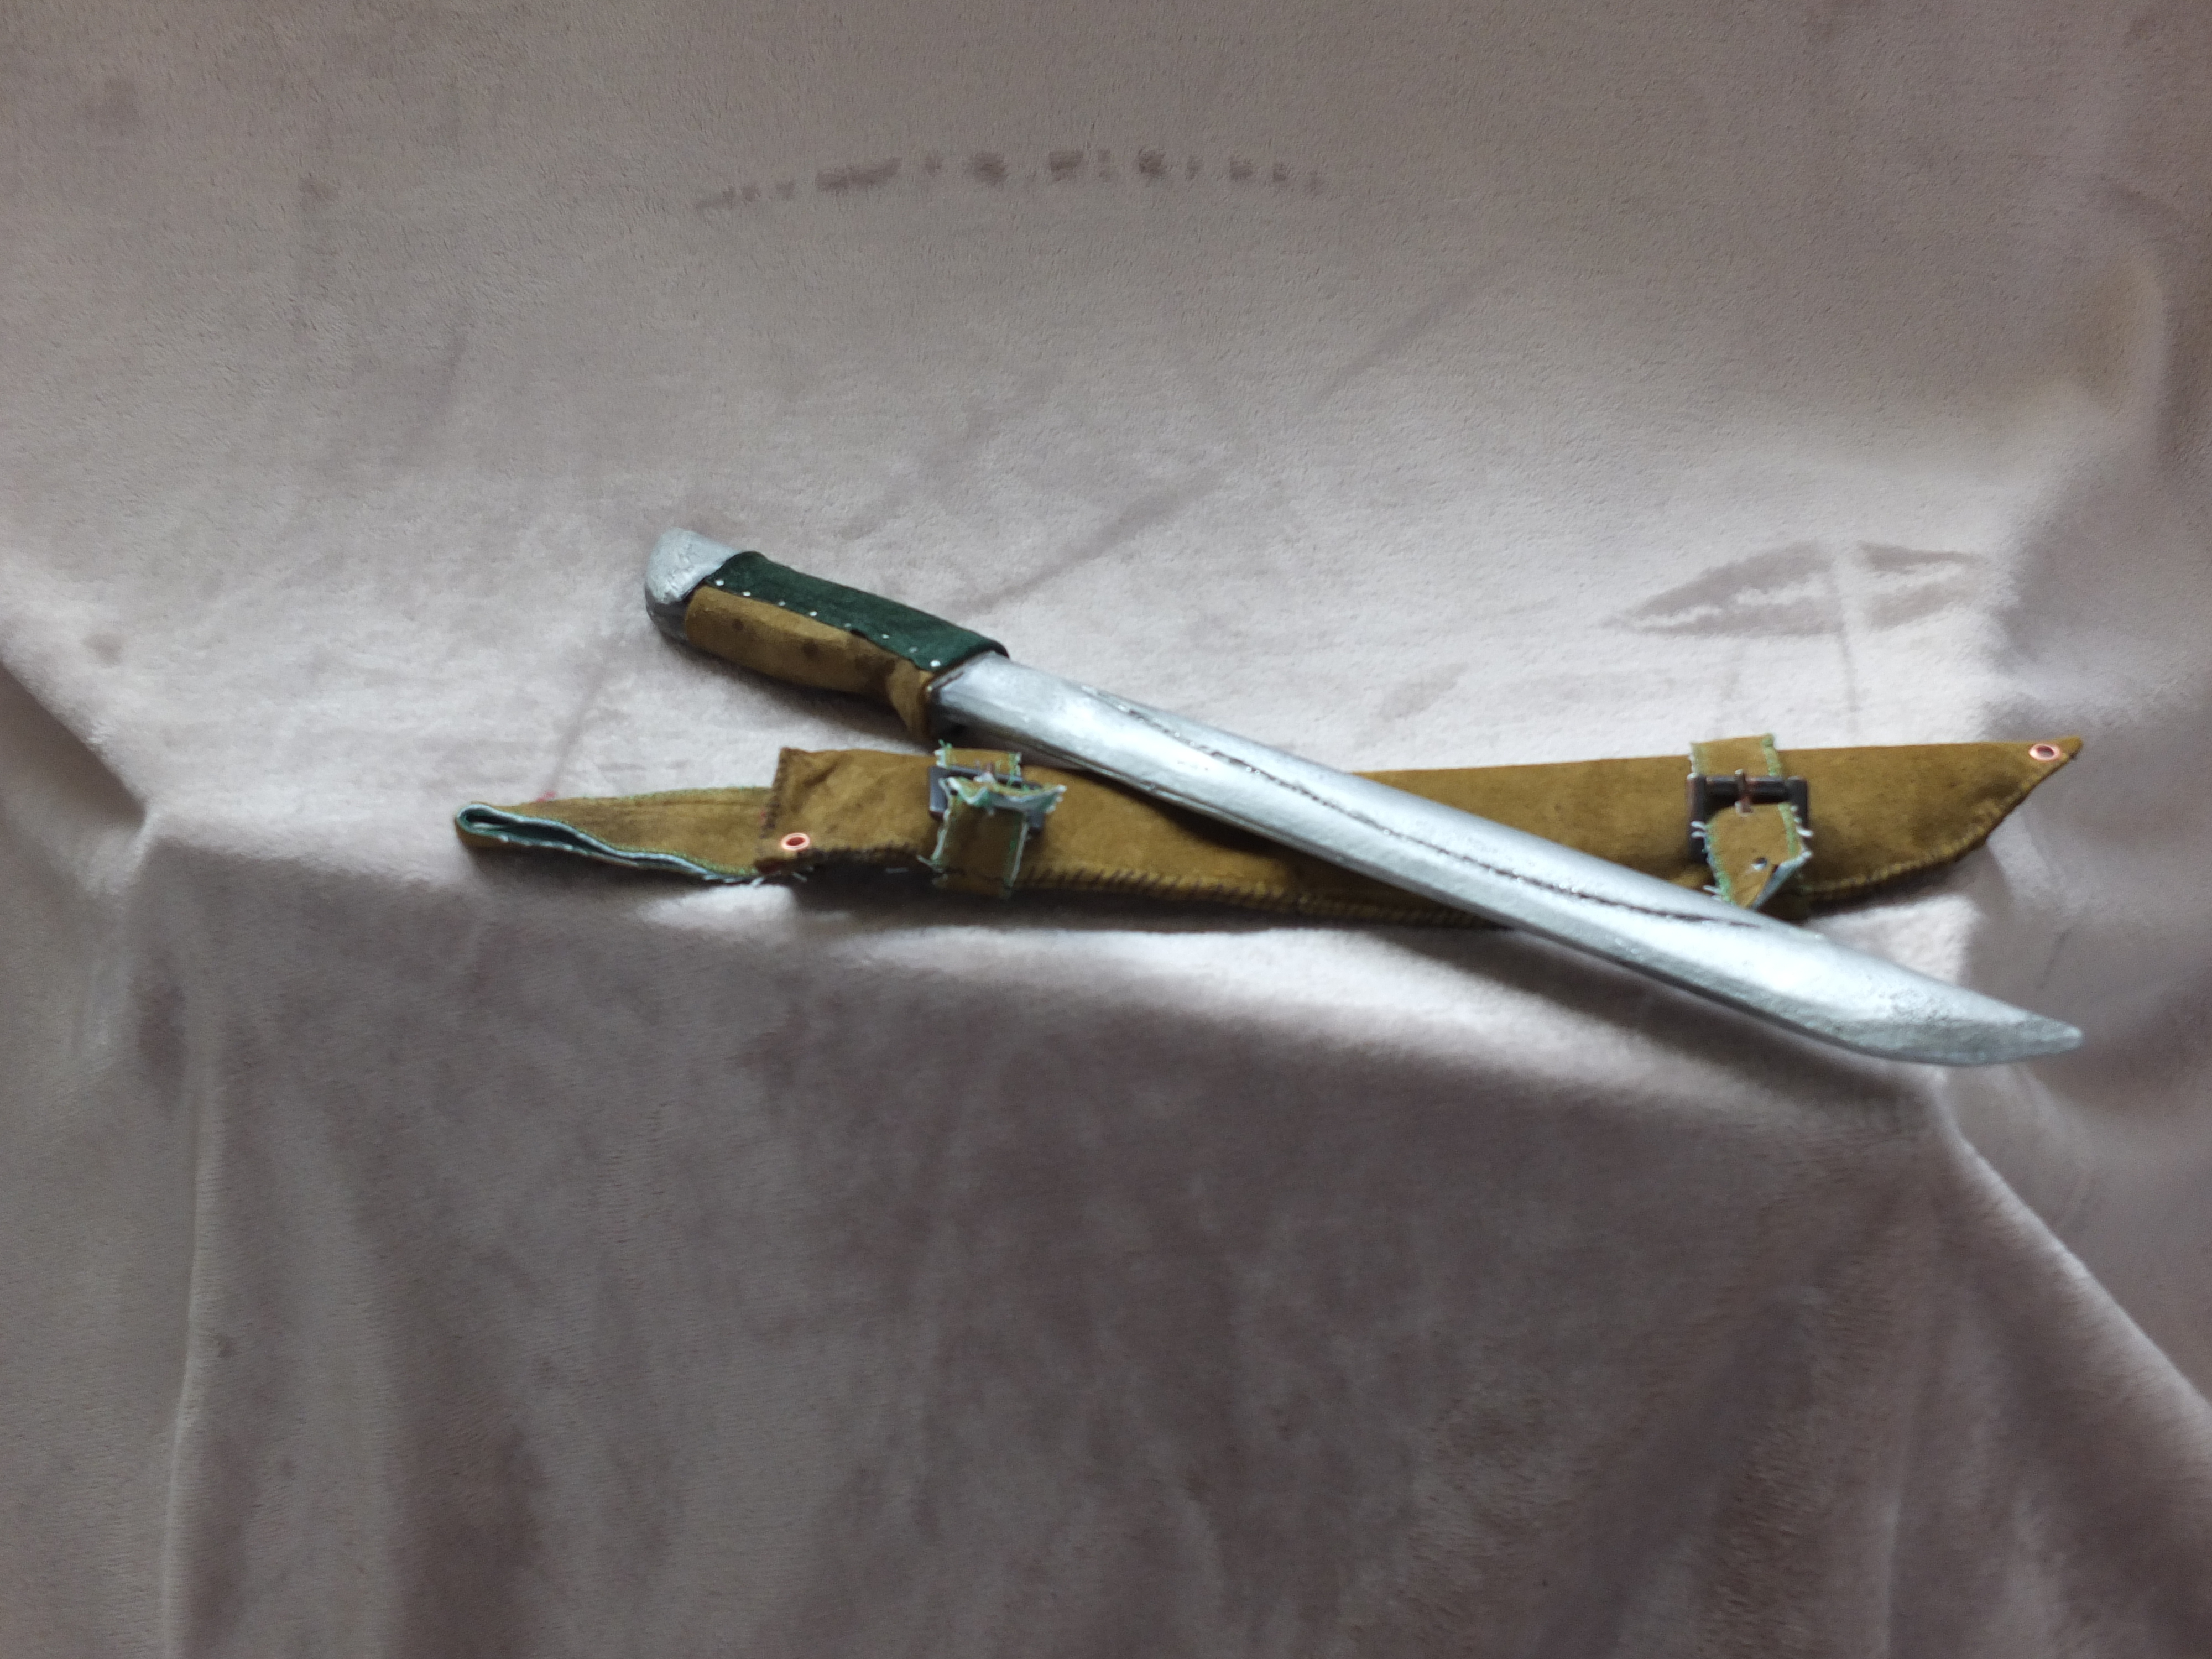

A technical approach to Larp weaponry
Pieter from Arcana shared some pics of a knife (about 40cm long) made using foam, latex, and plastidip. Very realistic! It even has a custom sheath.
Well, here we hit a wall – the German speaking world has its own foamsmithing resources, and this “25+ build instructions for Larp Weapons” page seems to be its new hotness:
Today we posted a guide on creating Stab Tips! You can also find it through the menu at the top of each page.
The guide details how to use Yoga Mat foam to create a stab tip for flat bladed boffer weapons. This method results in durable, safe, and attractive stab tips, with minimal material and labor costs. Go check it out!
Just wanted to point out Anoc of Wrapshot’s no-gimmick one-handed sword build is just as good a guide as it was when it was first posted. Now, unless you’re local to Darkon, you’re not going to be able to pick up his MC foam blade kits, but Forged Foam still sells their own well-regarded foam blades.
A friend of mine asked me if I could help him with an axe he wanted to build.
Dimensions: 110 cm (3 feet 7 inch) and double bladed.
A rough design:
In the drawing you can see that the internals are drawn as well. It is better to plan ahead!
Making the parts. Knowing what goes on beforehand is a tricky part and varied from weapon to weapon, but pretend it’s real and imagine yourself a blacksmith.
The frame is made-up clued together kite spare covered in cloth.
The cloth is glued and stitched. Glued together and cut to size. Note the barbs where left out because it was felt that it would weaken the weapon. The handle is made from wood and crafted so it will take two AAA batteries. The switch is placed at the backend of the weapon and foam protected.
After some more gluing and latex-ing:
Note: 6 layers of clear latex 3 colored (black)
Than the red, and metallic are directly airbrushed on to the latex.
Covered with a coat of plastidip clear and finished with a light coat of clear varnish.
And here it is with the lights on:
On arrows or crossbow bolts, the fletching is used to make the pointy bit of the arrow hit the target first. Without fletching an arrow won’t fly straight and could hit a target sideways, but with LARP arrows having such big heavy heads, they will actually turn midair and hit the target with the backend.
So arrows need fletchings, and LARP arrows really need big fletchings.
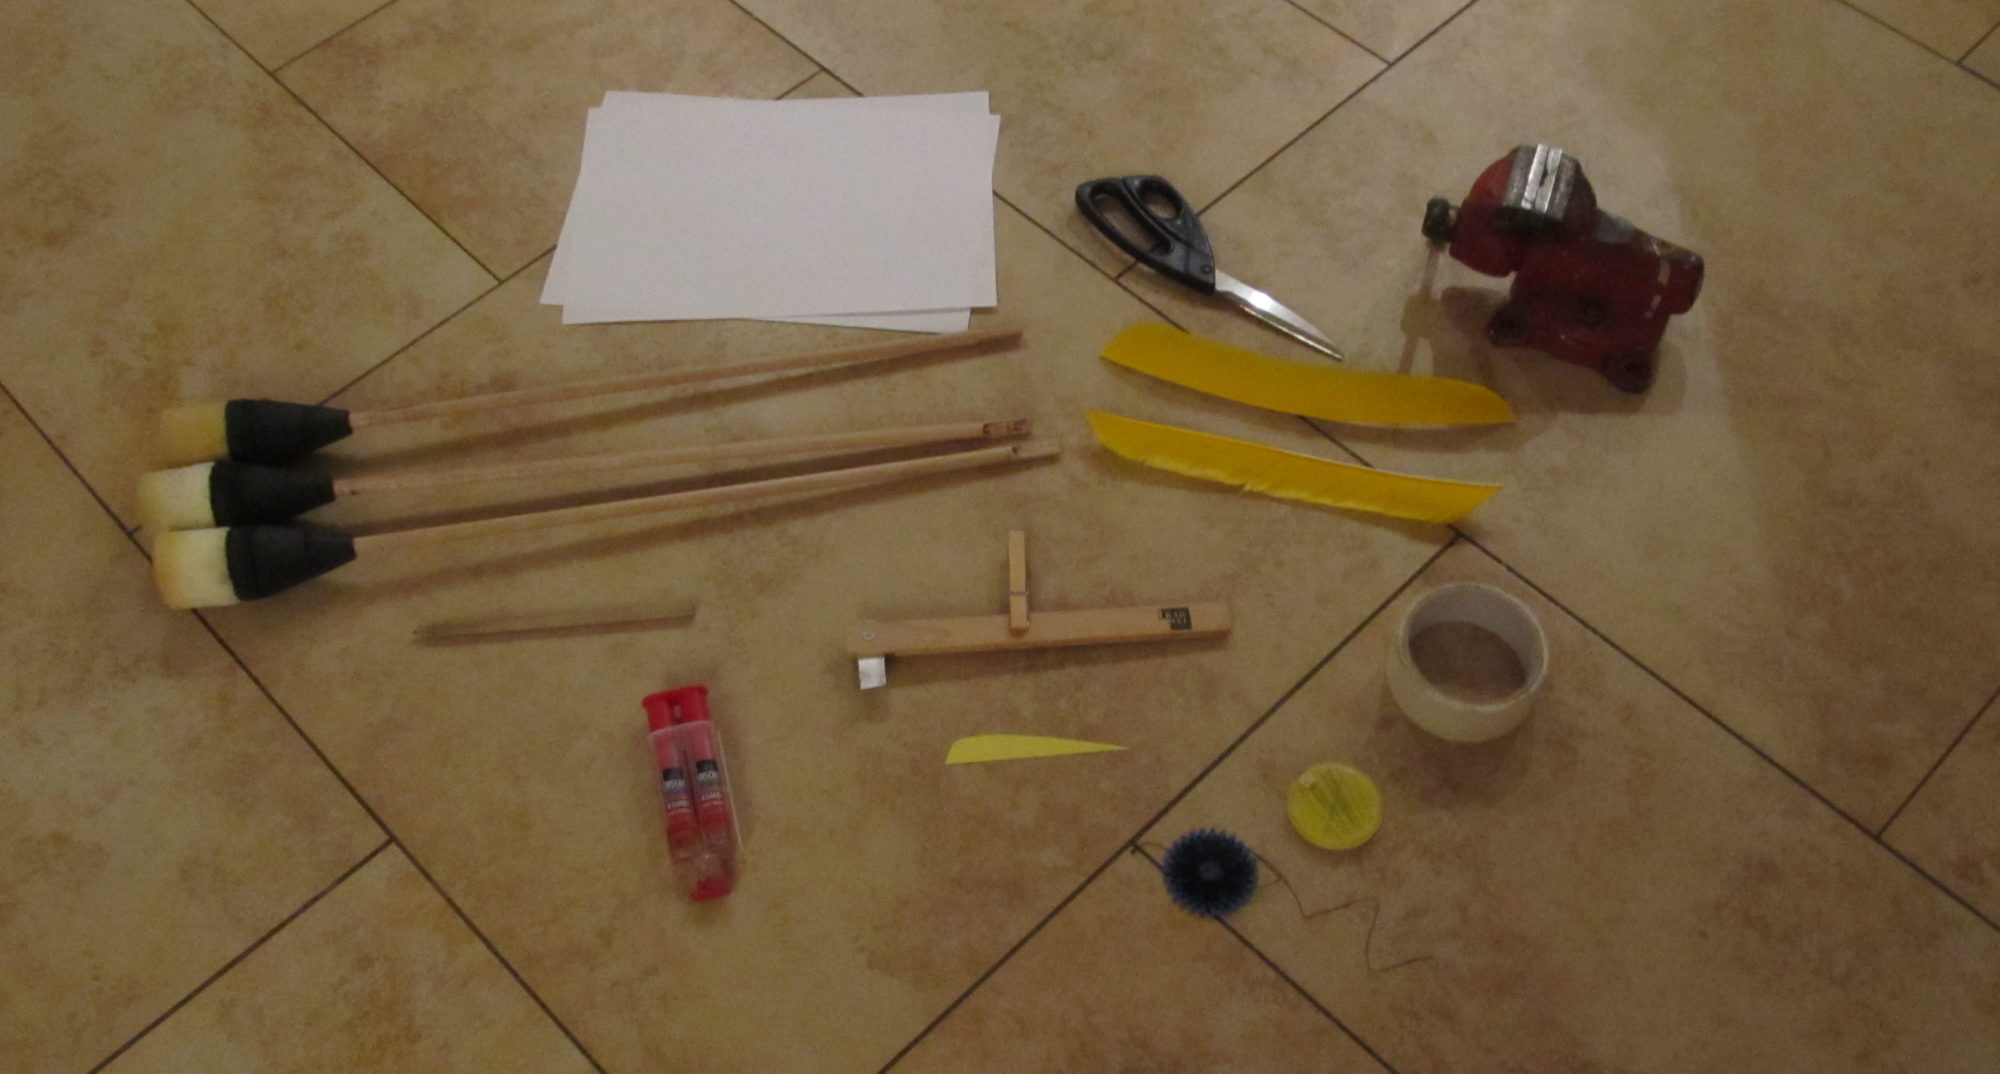
You will need:

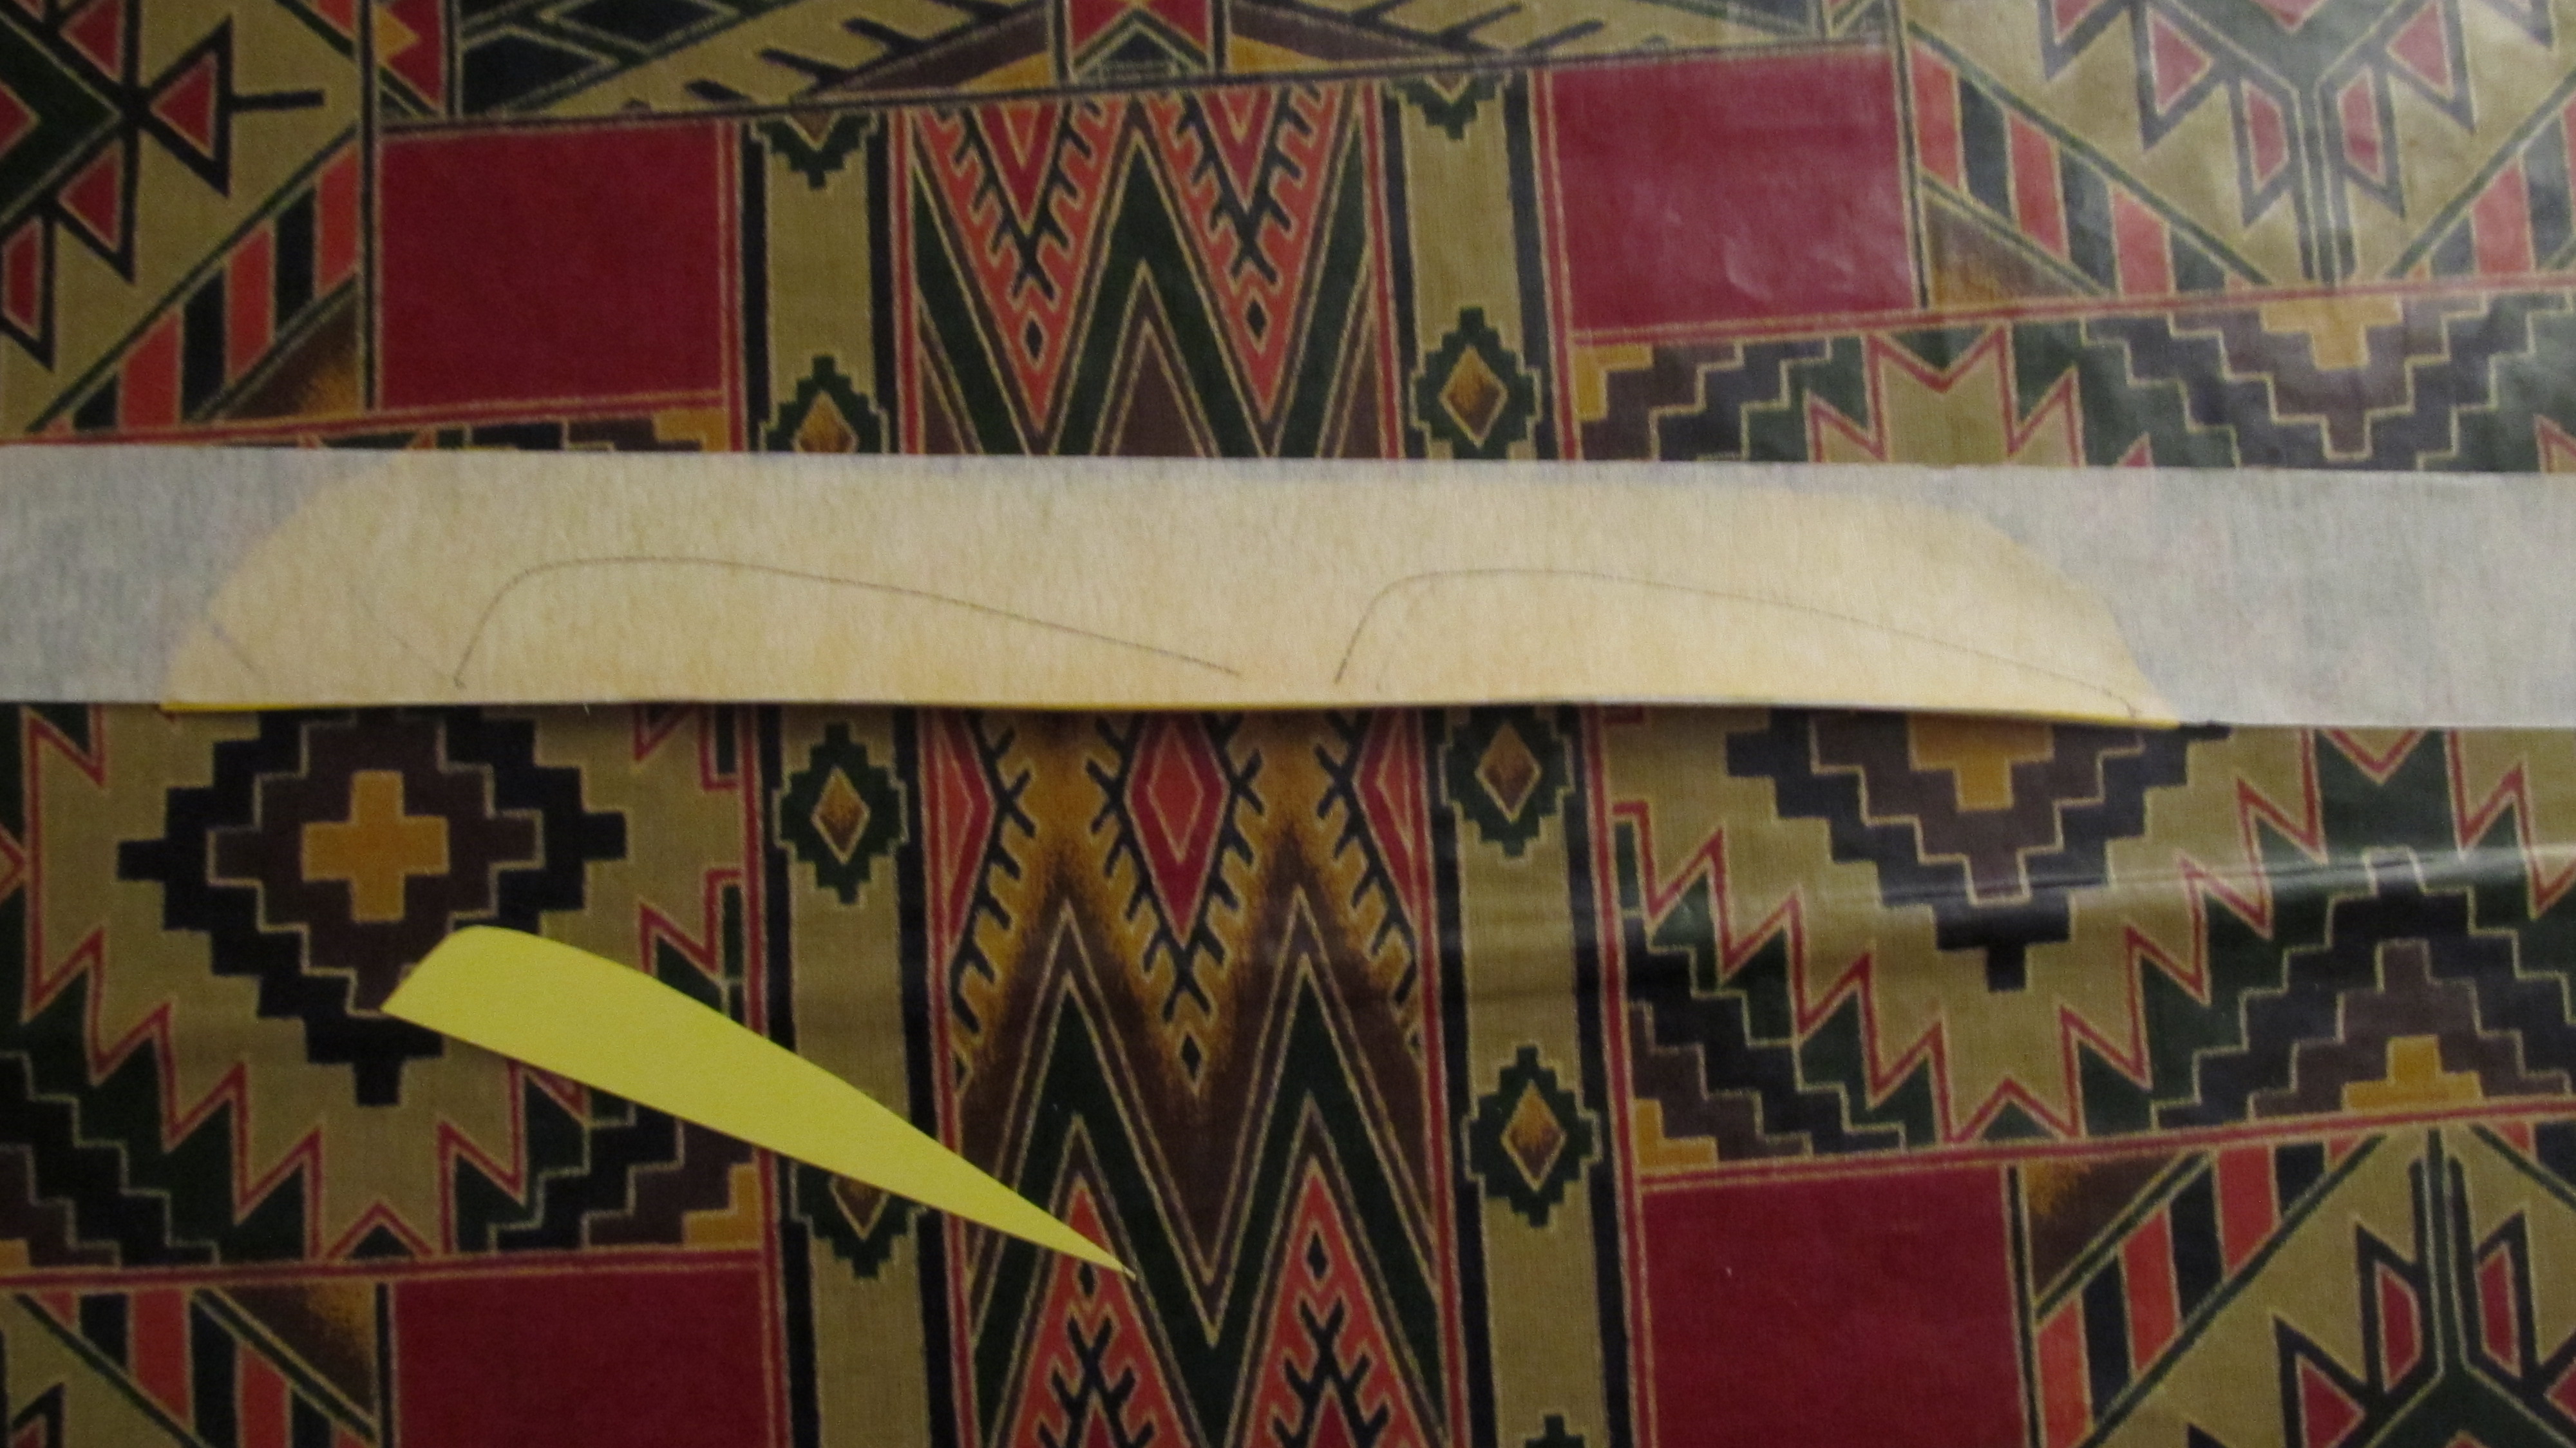
Making a template
You will need to make a template because you need to make two very similar feather each side of your arrow. If they are to uneven the arrow will veer off in one direction. You can make a template out of paper, cardboard or plastic.
Sizing
I make my fletchings slightly longer than the cross-section of the arrow head. The height of the fletching isn’t so tall that it sticks past the arrow head.
For example, I would use the following dimensions:
The cross-section of the arrowhead is a minimum of 5 cm, so the length of the fletching is about 6 or 7 cm. The height is 0.5 * 5cm – 9 mm (half the cross-section minus the diameter of the shaft) so about 2 cm.
Shaping the Feathers
Stick some masking tape on the feather. This will make the drawing and cutting easer. Put the template on the masking tape, draw and the cut with some scissors, remove the masking tape.


Marking Guidelines

First mark out where you want to have the feathers. You do this by using a pencil and laying the arrow on a flat service and run the pencil along the shaft. Do this both sides (bolts only have two feathers) and flip the arrow and do this again. You should end up with two pairs of parallel lines on both sides of the shaft.
Gluing the Fletching onto the Bolt
I use a gluing aide and a vise. The gluing aide is to hold the feather when glue is setting. And a vise to hold the arrow nice and steady. The aide is made of two pieces of wood a cloth pick. Just to keep the feather straight. I use two more clothes picks to hold this to the shaft. Repeat on the other side.
Binding
When you have glued the flights. Then you apply the binding. The binding service a decorative purpose and a structural one.
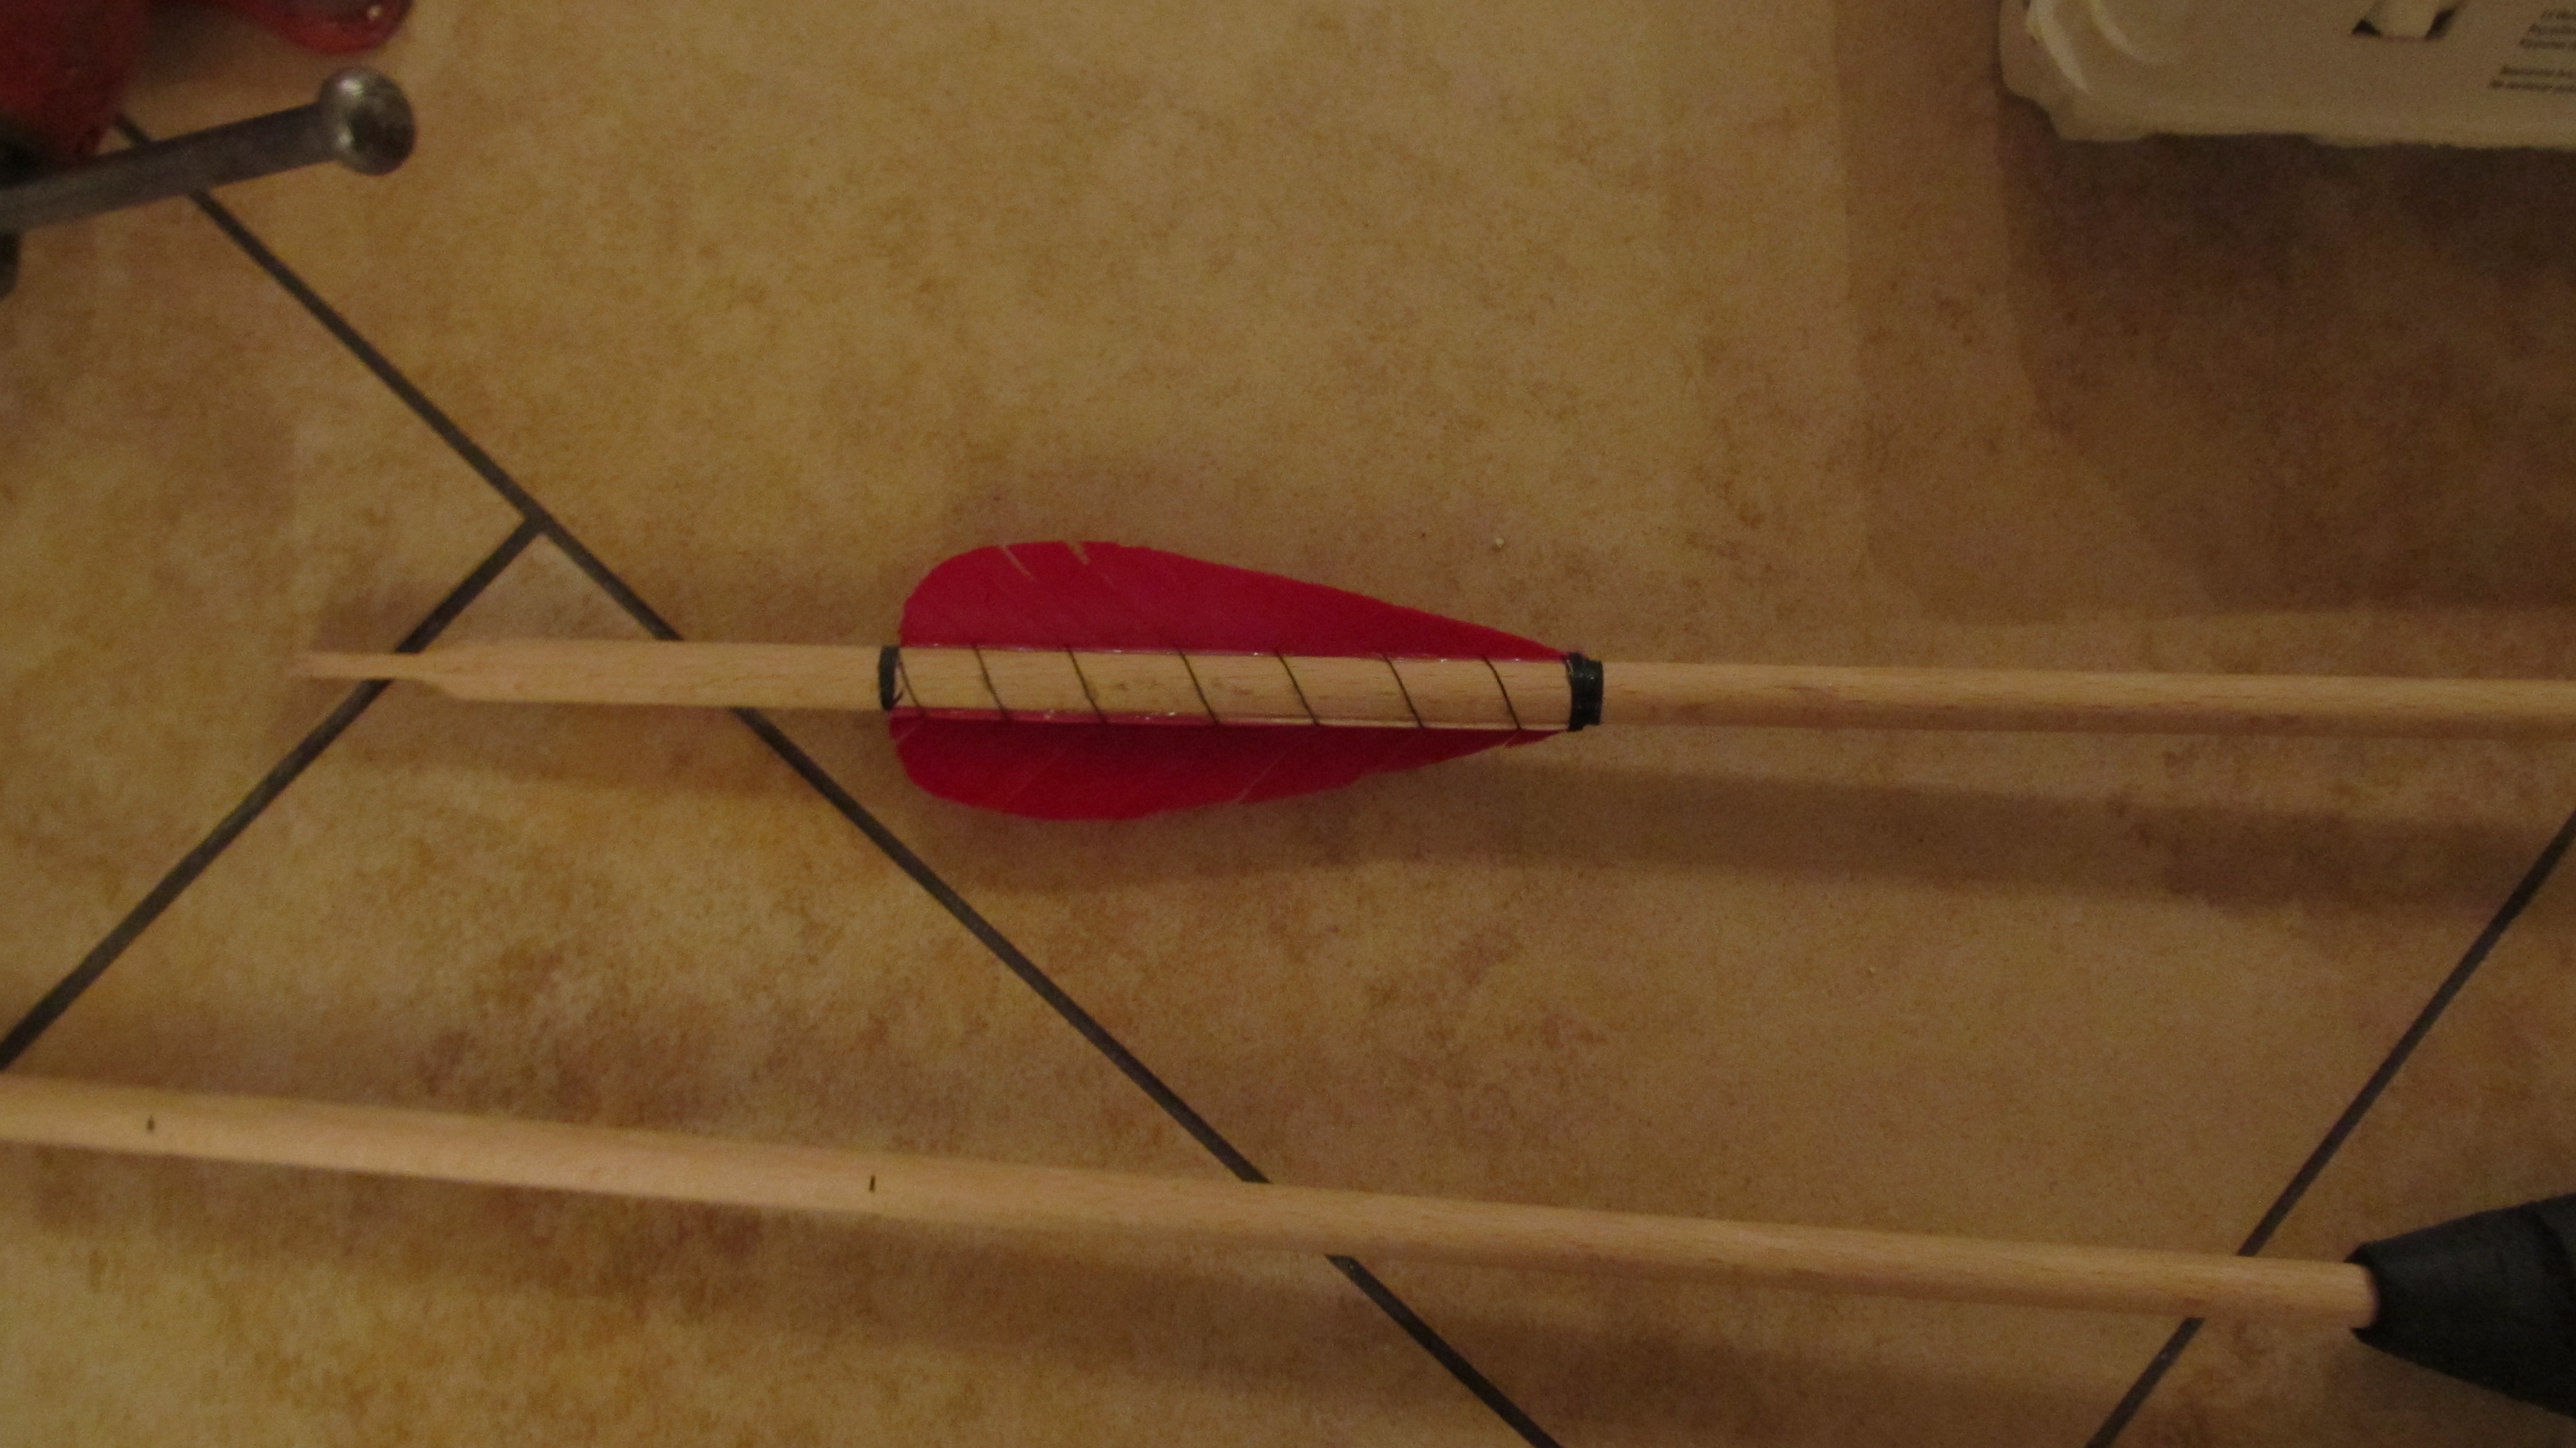
Start with a simple knot and wind tightly towards the feather. Then use the needle to part the filaments, get the thread right in low at the base of the filament.
If done correctly, the feather should close. If it doesn’t, then probably the thread isn’t low enough, just redo it tighter. At the end just wind tightly and a few knots and some glue to stop the thread form unwinding.
And now you have a fletched bolt.
We play a rough and tumble game, so no boffer weapon can stay pristine forever. Knowing how to repair a weapon is a useful talent, which will prolong the life of your equipment and keep your wallet happy. Lets run down some common problems you’ll see, and how to repair them. Continue reading “Wear and Tear: Swords”
I think boffer weapons are pretty safe, which may surprise you since one did this to me the other day. It looks a little gruesome, but I can assure you it would have been significantly worse if the weapon that struck me wasn’t properly “eye safe”. As it was, I came away with just a small cut to the eyelid and no real damage. Not even a black eye. This seems like a good opportunity to talk about the importance of eye safety when building boffer weapons. An eye safe weapon saved my eye, and they may save more in the future. Continue reading “Eye Safety with Boffer Weapons”
Solid fiberglass rods are the go-to core technology for boffer swords. They are affordable, easy to use, and durable. We heartily recommend them, and detail their usage in our latest component guide.
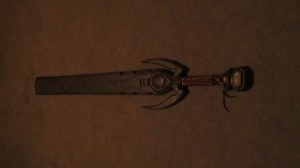
Want to see something cool? Pieter of Arcana in the Netherlands shares a successful experiment in Electroluminescent Wire on a larp weapon.
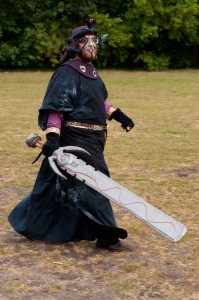
Inspired by this illustration, this sword is 1.5m long, with two AAA batteries in the handle and a converter housed near the crossguard.

When powered on, the neon string lights up.

And finally, a quick video. We’d never seen this done before, it looks like a really neat way to improve a weapon for a fantasy/scifi game. Thanks for sharing your creations, Pieter!
If you’ve got something new or interesting in the world of foamsmithing, write in to contact@foamsmithing.com – we’d love to hear about it!


