A well built pommel is essential for a weapon’s safety, control, balance, and appearance. The Round Method (sometimes known as the Wrap Method) is simple to create, very durable, and can look impressive. The most basic form is a fairly plain cylinder, but a little extra effort can produce the classic “scent-stopper” pommel. Feel free to experiment. After the cover, a pommel is the easiest part of a weapon to replace. This tutorial uses a step by step approach to wrapping and capping a pommel. Foamsmithing.com believes this creates a more durable pommel than simply double wrapping, then double capping. Many people prefer to add pommels before grips, since you can then tape the pommel directly to the bare core.

Materials:
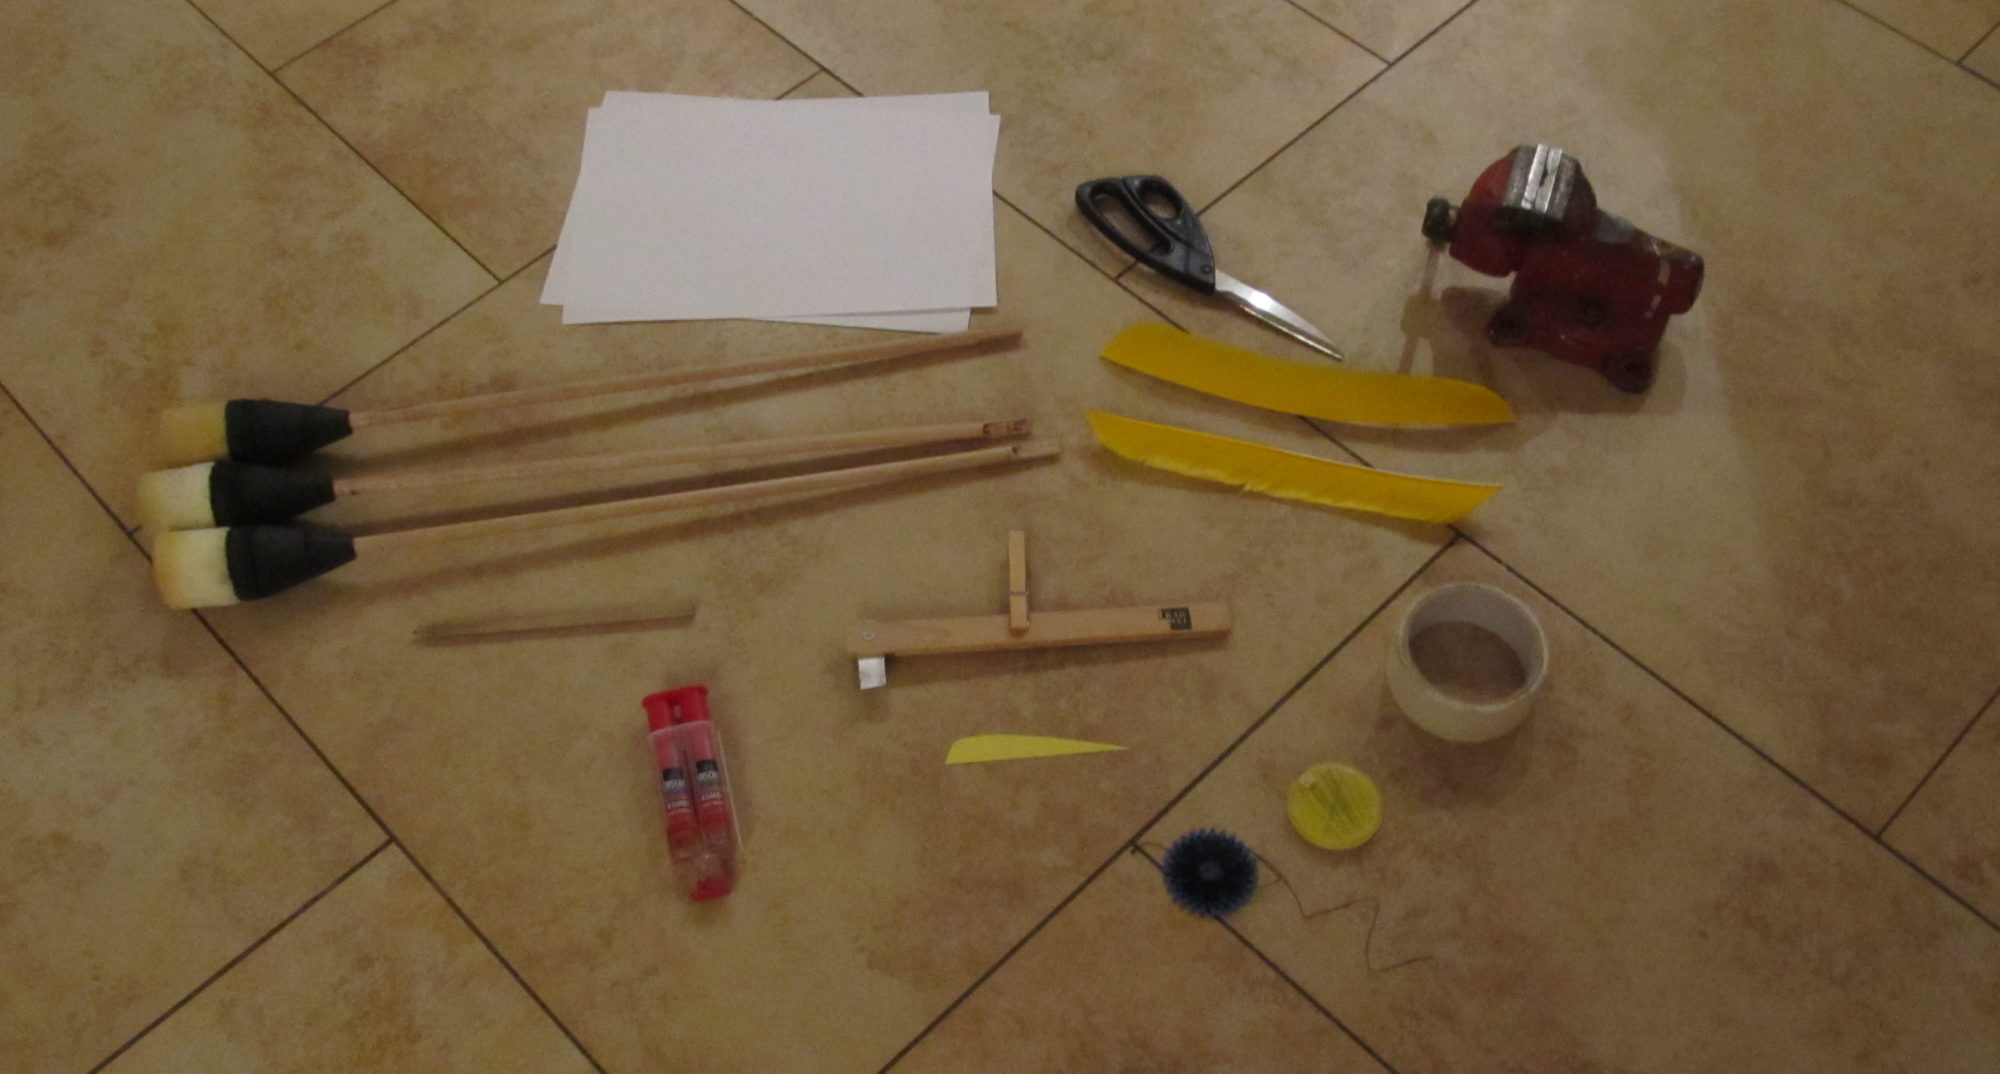
- Foam. Most of the pommel should use the classic “blue foam” or equivalent, although a more dense foam may be useful for the first pommel cap. Try and save foam scraps for pommels, as you won’t need many large pieces.
- An adhesive. Foamsmithing recommends double sided carpet tape, but DAP contact cement or spray glue work well.
- A strong tape. You can use athletic tape for this, but strapping/packing tape is probably superior. Duct tape is also appropriate.
- Athletic/cloth tape to cover the pommel
Instructions:
1. Make sure you have enough space to attach the pommel. Although more is recommended, you’ll need at least 1.5″ of exposed core. Try and minimize the amount of tape where you’ll be attaching the pommel. The less between the foam and the core the better the attachment.
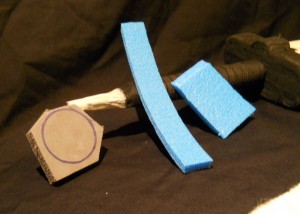
2. Cut a strip of foam about 4″ long, with a height equal to the exposed core. Bevel one end (cut it at a 45 degree angle). Apply your adhesive to the foam strip, as well as the beveled end. If you’re using glue, remember to wait for it to tack up before proceeding.

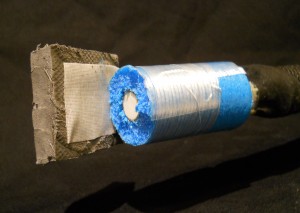
3. Starting with the beveled end, wrap the foam around the core securely. It doesn’t need to be wrapped down tightly, but it should be even and snug. If you’re worried about the foam coming unglued, you should wrap a strip or two of packing tape around the unfinished pommel. The end of the foam should be even with the end of the core. If not, you can trim it down. You’ll also need to trim down the edge of your strip where it adheres to the beveled foam underneath it. You want a nice even ring of foam.

4. Cut a small piece to cap the pommel. You’ll need an even end to the pommel for this to adhere correctly. Use double sided tape or glue as normal. It is generally useful to cut one larger than you need, and trim it down after you’ve attached it. Scissors work for trimming down the foam, but a knife can give you more precision.

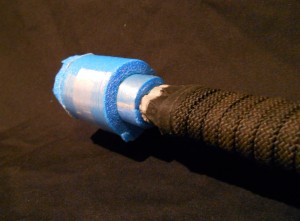
5. It’s time for your second wrap layer. Repeat steps 2 and 3 with a longer piece of foam. You’ll want to end even with the cap piece you added in step 4. If you’re looking to create a “scent-stopper” look, you may want to make this piece shorter so the pommel expands from the narrow handle. Later you can trim down these foam “steps” into a smooth curve.
6. Its time to add a second cap of foam, in the same manner as step 4. If you’re using a .5″ core, this cap should end up slightly over 2″ wide, and thus meet eye safety requirements. If not, you’ll need to add another ring and cap of foam, just repeat steps 5 and 6 until its wide enough. Spears or other polearms may require a larger pommel wider for safety.
7. Use a strip or two of strong tape to keep the wrap secured tightly. The rest you can do with cloth tape. Tape down from the top of the pommel parallel with the core. Make an “X” across the end, then fill in the gaps. You’ll want the tape to extend down past the end of the pommel and onto the grip (or bare core) Don’t tape down too hard, or else you might compress the foam past the 2″ eye safety template. After that, use a spiral wrap around the pommel to finish things off.
