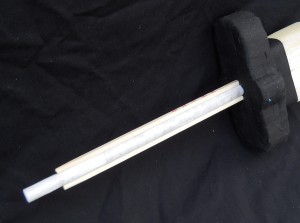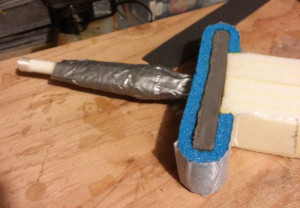
Hands don’t grip a straight cylinder well, and shaping your handles are an easy way to gain performance and authenticity. There are two shapes we talk about for handles. “Waisting” means creating a bulge near the middle of the handle. This bulge extends around the handle in a ring, and creates a more natural position for the hand that grasps it. “Oblonging” is beneficial for bladed weapons, as the oval shape of the handle allows for better edge control. Shaping the handle should be done after adding the guard and counter-weighting, but before adding the grip. You might find it useful to shape the handle before adding a pommel, but this isn’t critical.
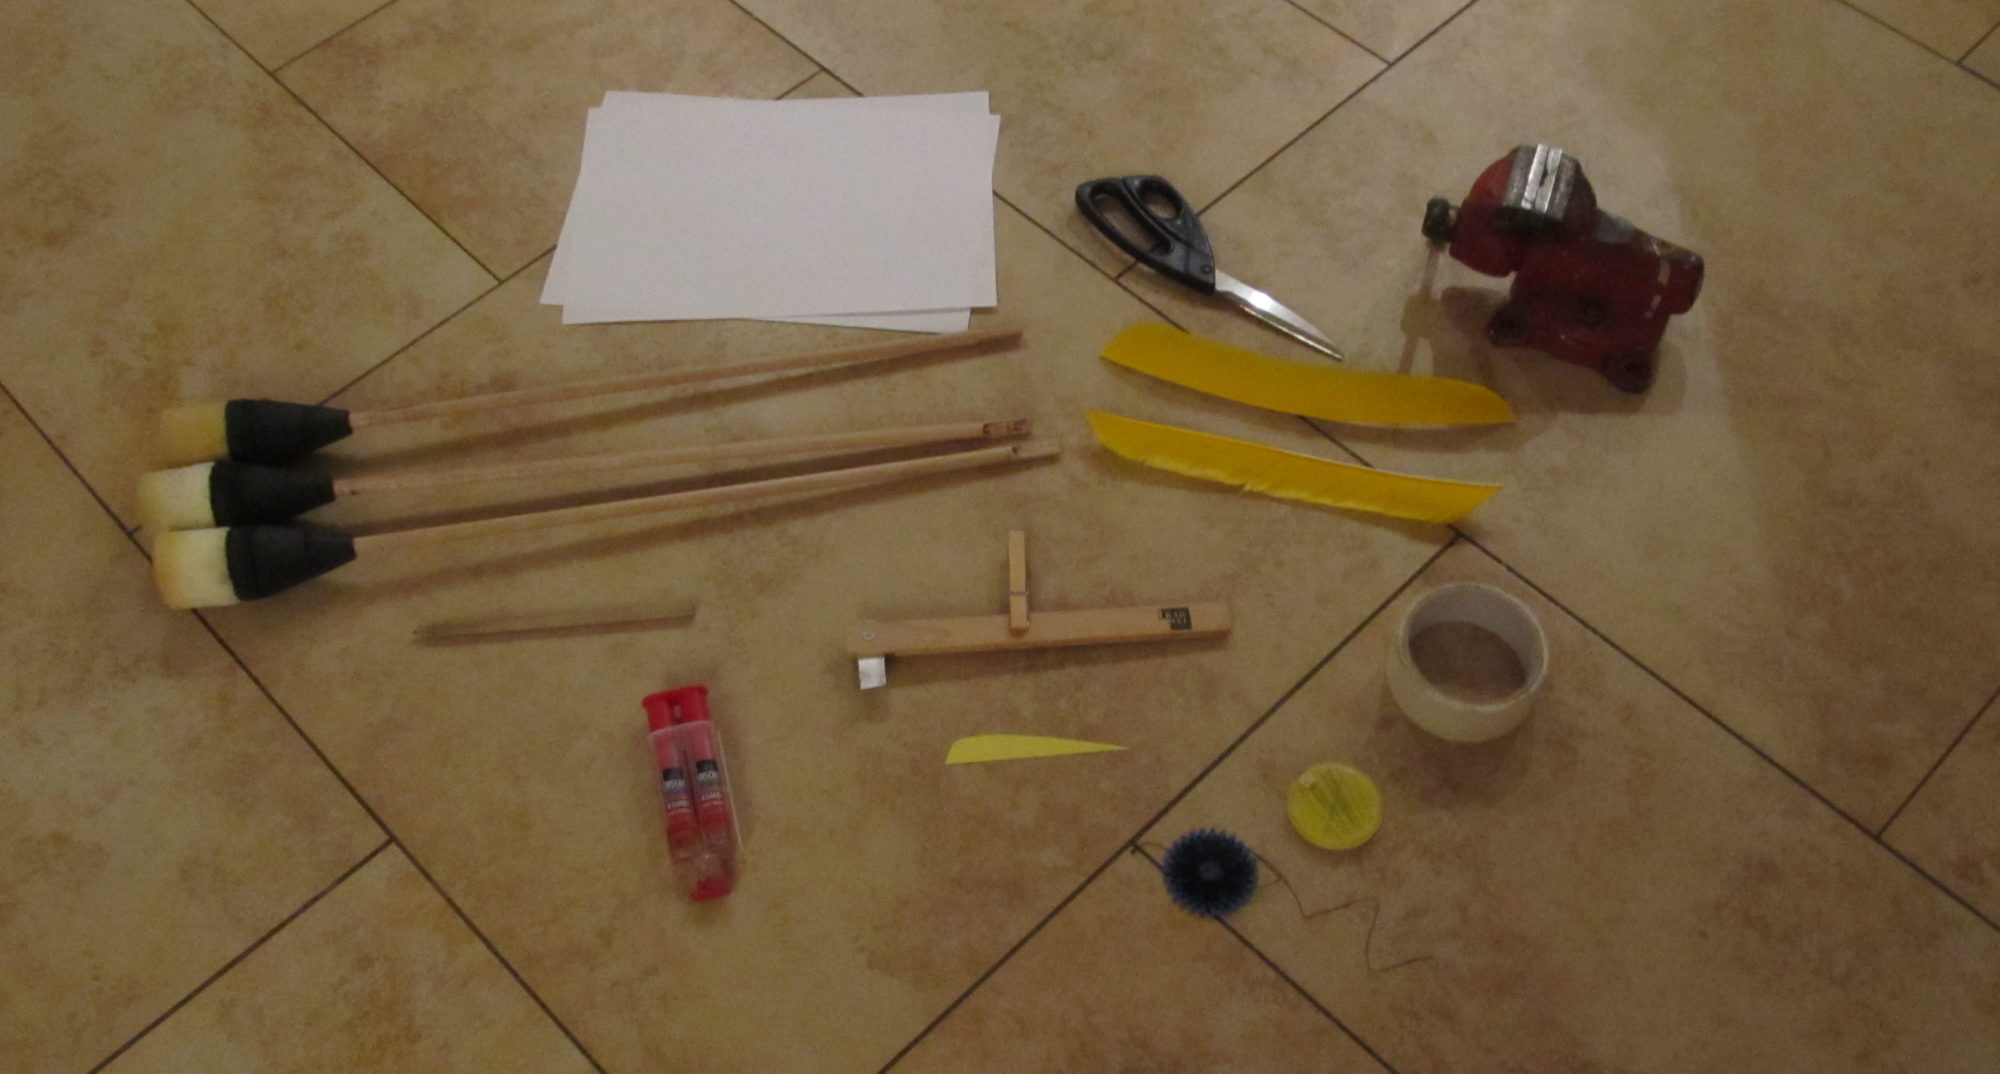
Materials Needed:
- Any tape that will hold to itself well. Electrical tape and duct tape work well, but try using up unwanted rolls you have sitting around. Try and avoid masking tape, painter tape or anything else that might not handle sweat and friction well.
- Chopsticks (if Bar Stock isn’t used to counterweight).
- Doublesided tape or DAP contact cement or Spray Glue.
Process:
1. Remember that you’ll have a cover of rope, leather, or athletic tape on top of this shape. A handle that feels just right after this process may be too thick after adding a grip.

2. If you counter-weight your handle, it will have an effect on your shaping. Barstock counter-weighting contributes to oblonging, so omit step #3. Lead wrap counter-weighting contributes to waisting, so insert that process between step 3 and step 4.
3. Select chopsticks and cut them to fit your handle. Apply the double sided tape or glue to the handle. Place the chopsticks parallel with the handle, aligned with the blade. Use two chopsticks for 1/2″ fiberglass and four chopsticks (2 on each side) for a thicker core. Make sure to tape over the chopsticks securely. You may accomplish further oblonging by laying strips of tape lengthwise to the handle. Use additional strips to round out the handle and lessen the corners.

4. When you’ve just about reached the amount of oblong you want, start spiral wrapping tape around the handle. Work carefully to ensure the tape is secure and to minimize wrinkles. Focus on where your palm naturally will sit. You’ll notice a waist start to develop. Apply thin strips or twisted tape to build up a sharp waist if you desire that. Use further strips and wraps to fine tune the final shape. Avoid corners and edges that may cause blisters.

5. Try a few practice swings, make sure this is what you want. Its easy to start over now, but much harder after adding a grip and finishing the weapon. Handle shape is a very personal preference, don’t leave yourself unsatisfied!

